How To - Creating a Promotion
To create a promotion:
-
Open the Promotion Wizard
-
Enter the name of the Promotion and a Description (something relevant and site name etc.)
-
Select the type of promotion you want to use (Multi Buy/ BOGOF etc)
-
Follow through the Promotion Wizard
-
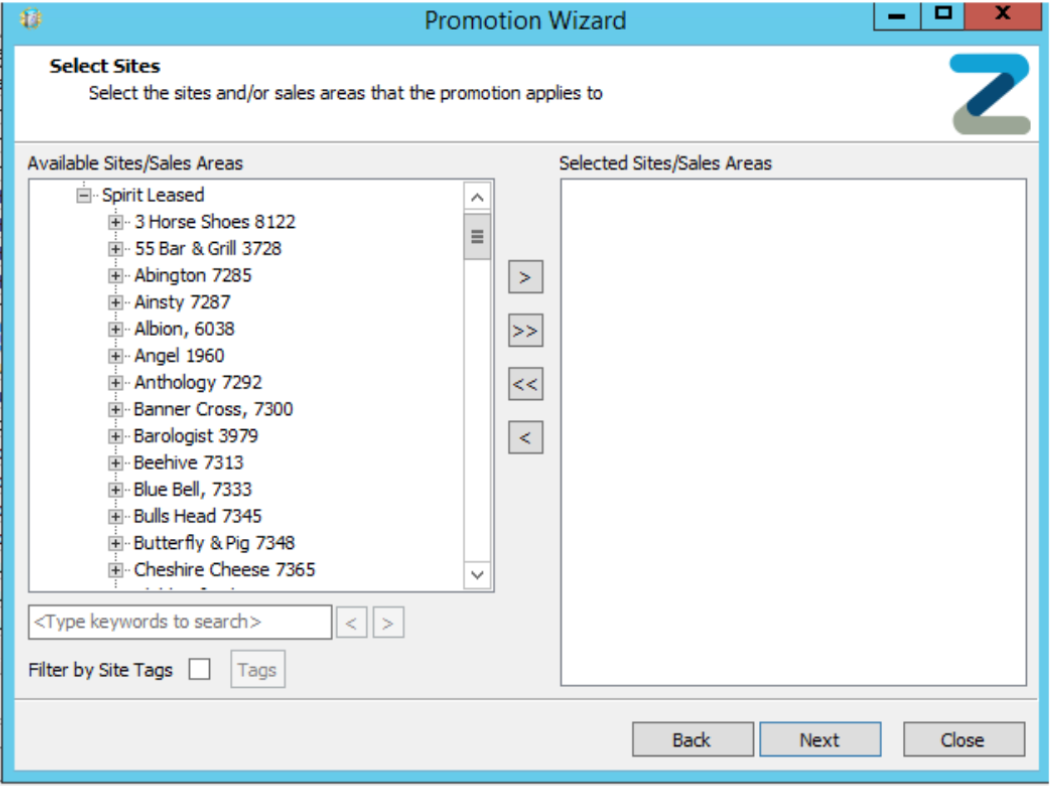
Add the site into the Selected Site/Sales Area by highlight the site and selecting the right arrow button
-
To remove a site select it in the Site/Sales Area by highlighting the site and selecting the left arrow button
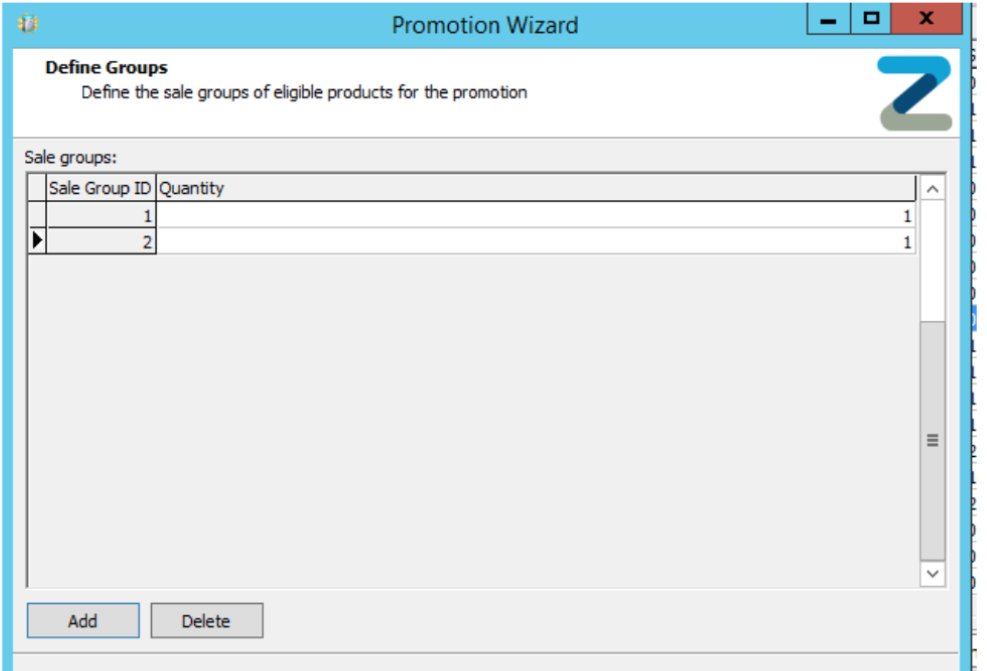
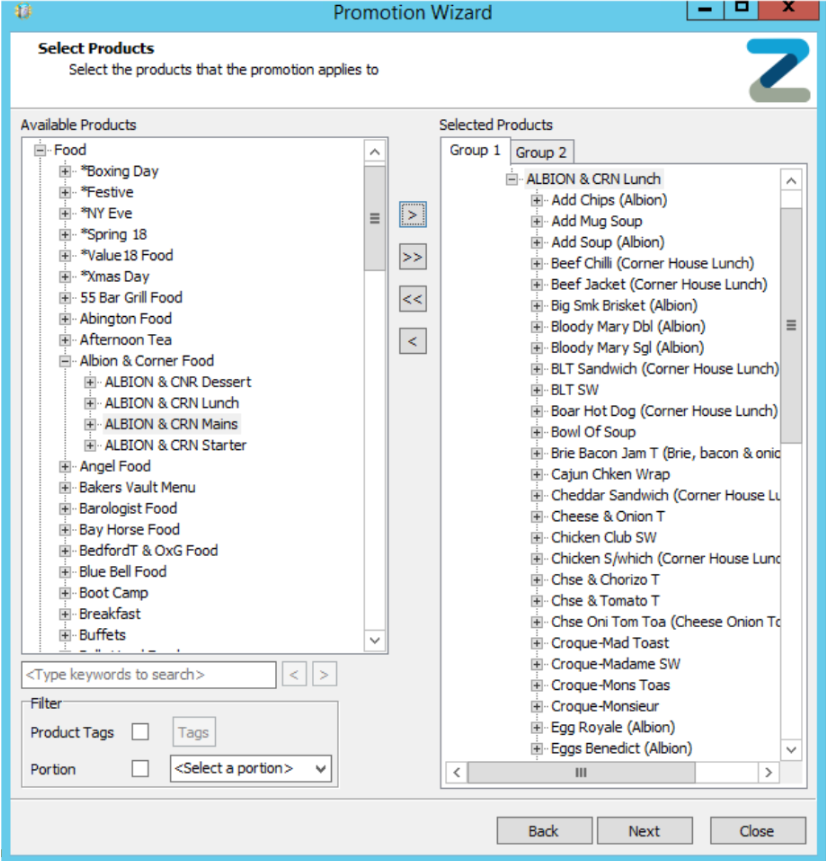
- Define the groups, e.g., group 1 for the trigger button, group 2 for a starter, group 3 for a main, group 4 for a dessert.
- Set the number in the group (this is the number of products that need to be selected in each group in the promotion, e.g. in the below example we are doing a BOGOF promotion, meaning we have two groups and one count in each group.
- Enter the products into the groups that are included in the promotion, e.g. in this example we are doing a BOGOF on Lunch, so Group 1 and Group 2 both contain lunch products.
Group 1 will be charged as normal, and group 2 will be set to decrease value by 100% (free product) - Next, you can set the specific days and times during which the promotion is active, or select the box for the promotion to run all the time.
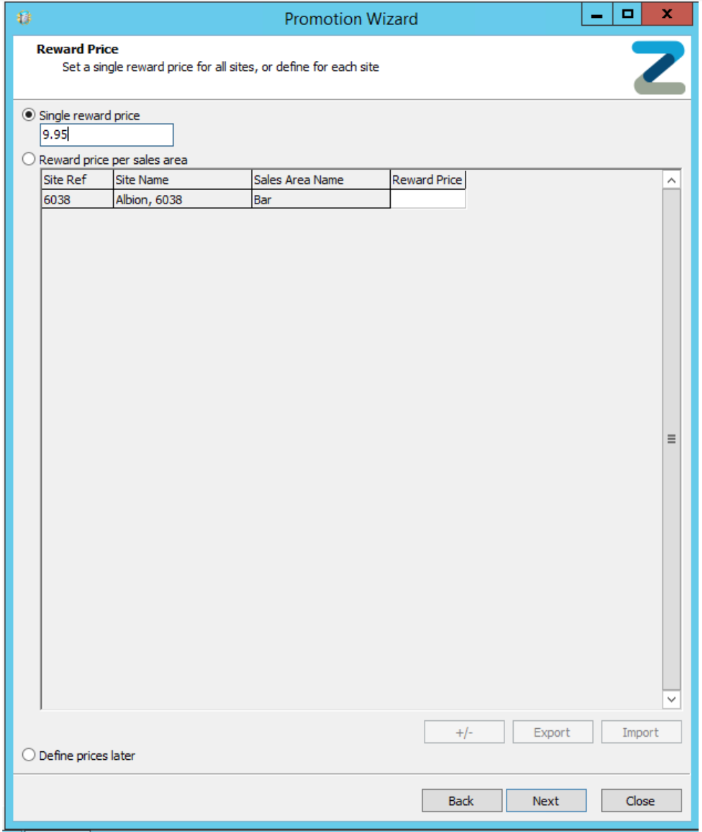
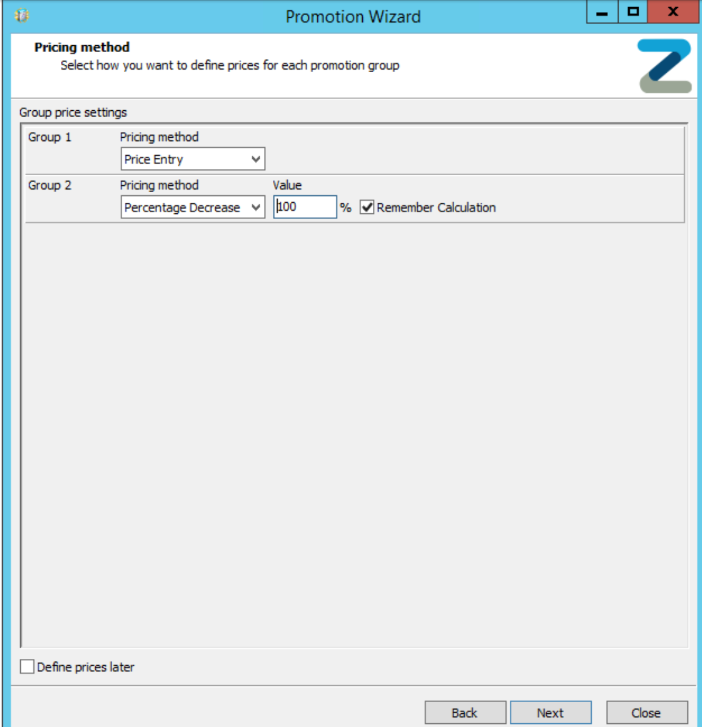
- Now we set the price for the promotion.
In this example, group one will pick up the 'price entry' for the product (taken from the sites price band) and group 2 is set to discount 100%.
If this was a multi buy promotion, you would set one price for the whole promotion - Select Finish to complete the promotion.


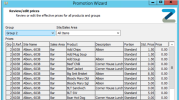
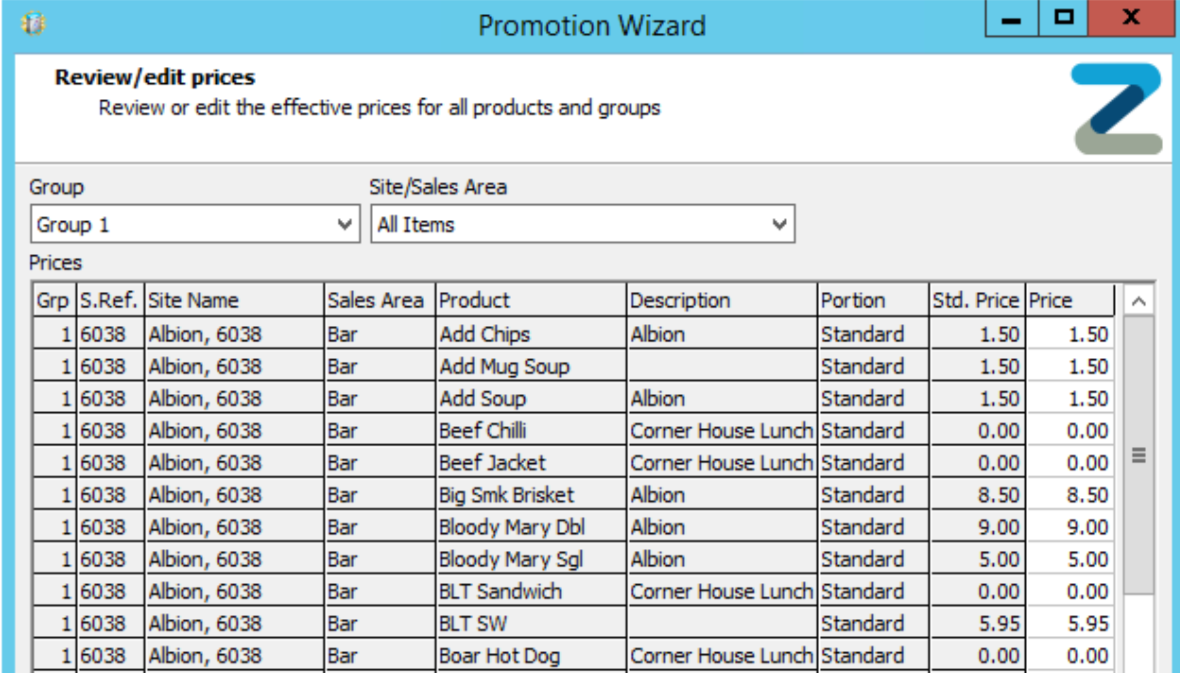
Group 1 – Standard price from price band:
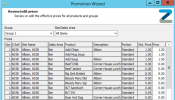
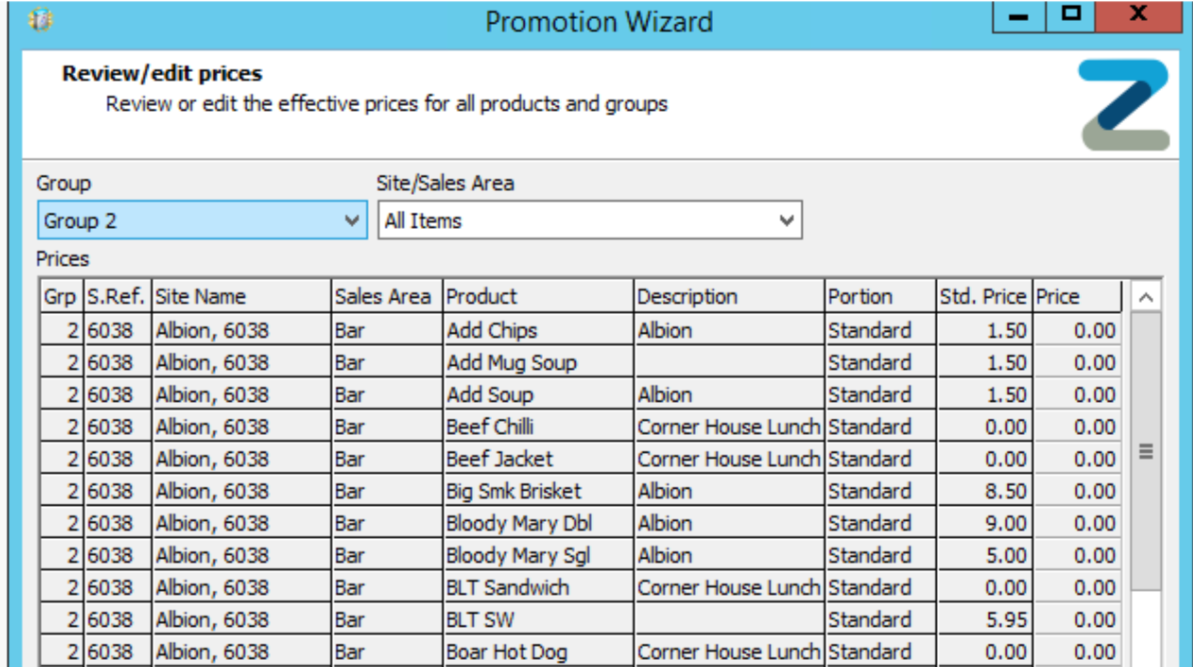
Group 2 – all zero priced:
-

When using the Multi Buy promotion, you can select the Single Reward Price, which will apply to all sites included in the promotion. Alternatively you can select Reward Price and enter a different price next to each site in the promotion